How to Cleaning Yeezys - The Ultimate Guide

Yeezys are becoming more and more popular due to the innovative new designs of the creator, Kanye West. The annual ‘Yeezy Day’ saw pairs of Yeezys being released again - some of the shoes included the Breds (Core Black Reds) and the Yeezy 700 Waverunner. So, just after Yeezy Day, we are bringing you a step-by-step guide on how to clean your Yeezys. In this guide, we will go over how to clean the 350s which have a Primeknit upper and the 700s which have a blend of leather, suede and mesh.
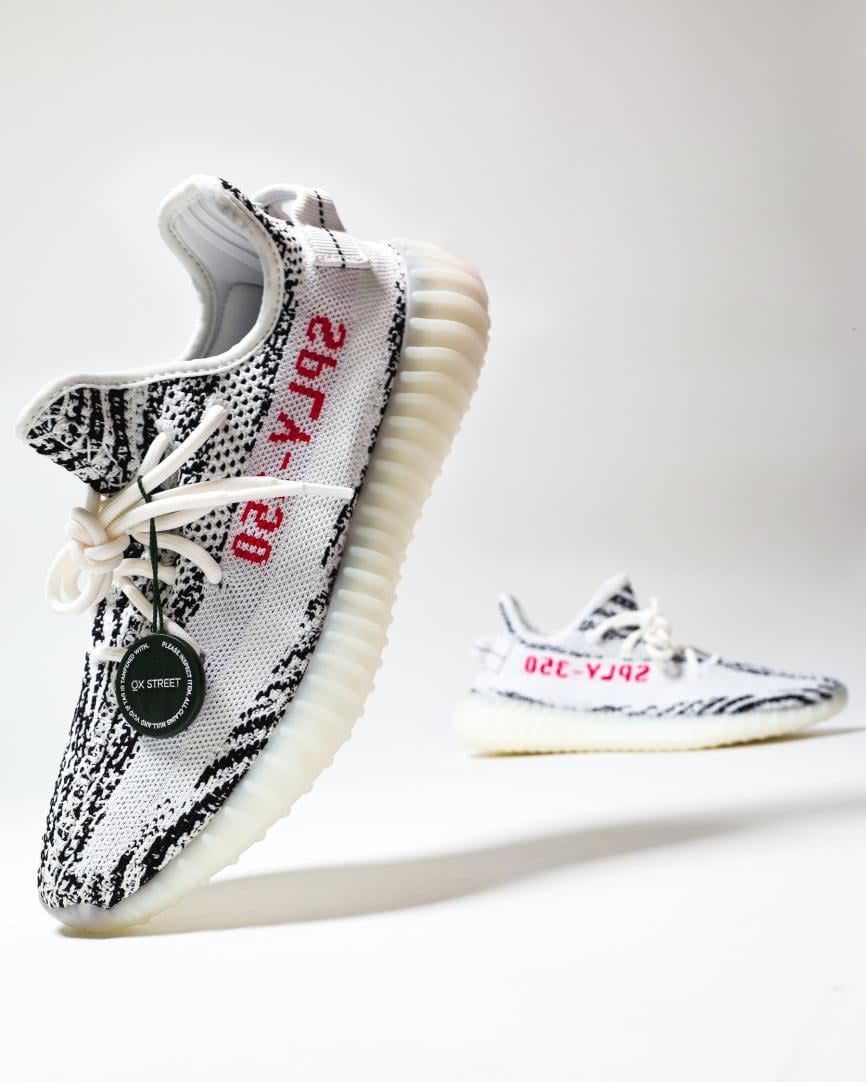
Cleaning Yeezy 350s
To clean your Yeezy 350s, you will require a hard bristled brush, a soft bristled brush, a sneaker cleaning serum and a cloth. Start off by taking the laces out of your 350s and placing them on the side. I would also recommend taking the insole out as this could get damaged in contact with water as they are usually made of synthetic materials. Additionally, the insoles take a very long time to dry if you do get them wet, so it’s better to just keep them dry. Once you have unlaced and taken the insoles out of your 350s, use the hard bristled brush to get any loose dirt or debris that may be stuck on the upper, sole or bottom of the shoe. You can be rough with the brush when scrubbing the bottom and sole of the shoe but be careful with the upper as the hard bristled brush may snag the Primeknit upper and this could end up ruining your 350s. Run the bottom of the shoe under some water to get any dirt or mud that may be stuck withing the grooves out, and then go over the bottom of the shoe with the hard bristled brush one more time to really make it look brand new. Dry off your shoes and place it on your work surface.
Take the soft bristled brush and your sneaker cleaning serum – some sneaker cleaning serums require you to put a few drops of the serum in a bowl of cold water, mix it and then apply it onto the shoe. Others allow you to just get the bristles of the soft brush wet and apply the serum straight onto it. Make sure you read the instructions that come with your sneaker cleaning serum to make sure you get the best clean possible. In my case, the sneaker cleaning serum allows me to dip the bristles of the brush into some cold water and apply some serum generously onto the brush directly. Once you have got the serum onto the upper and midsole of the shoe, use the soft bristled brush in circular motions to get the best possible coverage and dirt removal. I would recommend doing sections of the shoe at one time and pushing the dirt away from the upper; for example, you could start with the heel area of the shoe and clean there and make your way around the shoe in any direction you like. You should see the sneaker cleaning serum creating a foam and this is an indication that you have used enough serum.
After completing a section of the shoe, clean the soft bristled brush under running water and apply the serum to another part of the shoe. Continue using circular motions and once you are happy that you have covered all parts of the shoe, take a microfiber cloth and remove the foam by patting down the shoe. Now move onto the midsole, using the sneaker cleaning serum once again – you can be a bit rougher with the midsole as it is not as prone to damage as the upper. Once you are happy with the midsole, pat it down with the same microfiber cloth and your 350s should be looking ‘deadstock’. If you feel they are still dirty, repeat the steps above again. Once you are happy that they are clean, let them air dry. Once they are dry, lace up your Yeezys and put the insole back in. Never put your Yeezys in the washing machine as the washer could snag the Primeknit upper and cause the shoe to be ruined. Additionally, it could cause the shoe to fall apart if water gets between the glue that holds the midsole to the upper so make sure you clean your Yeezys by hand as explained above.
Cleaning Yeezy 700s
To clean Yeezy 700s, follow a similar process of starting out. Unlace both pairs and take the insoles out of them as the insoles may be damaged if they get wet. We will be using the same equipment as earlier so to clean your Yeezy 700s, you will require a hard bristled brush, a soft bristled brush, sneaker cleaning serum and a microfiber cloth. As there is suede on the Yeezy 700, I would recommend investing in a suede brush as this will massively help you clean your 700s and keep them looking their best.
Start off by taking the hard bristled brush and dislodging any dirt from the upper, midsole and bottom of the 700s. Take care on the upper as the hard bristles may snag the mesh upper and could damage the leather bit of the 700s.Work on the bottom of the shoe using the hard bristled brush and attempt to get all the dirt and mud out of the grooves in the sole – if you are not able to get all the dirt out, run the bottom of the shoe under some water (try not to get any on the upper as of now) and use the hard bristled brush again. You can repeat this process until you are happy that the bottom of your shoes is looking their best. Pat the bottom of the shoe down and place your pair of 700s on your work surface.
The next step is to use the suede brush – the suede brush allows you to deep clean the suede on your shoes and allows you to re-fluff the pile of suede, which keeps the shoes looking brand new. I would definitely recommend investing in a suede brush because they work a lot better on suede than a normal brush or than the sneaker cleaning serums that we will use to clean the leather and mesh part of the Yeezy 700’s upper. After you are satisfied with the way the suede is looking, prepare your sneaker cleaning serum (read above for details on how to) and use the soft bristled brush on the leather and mesh. Create a foam by using circular motions to apply the sneaker cleaning serum into the leather and mesh. Similar to the steps for the 350, I would recommend working on sections of the 700 at one time as this will allow you to deep clean the shoe. Make sure to avoid the suede parts that you have just cleaned. Make sure to move the dirt away from the upper of the shoe. Once you are satisfied with the way the upper is looking, move onto the midsole. You can use the same soft bristled brush for the midsole (clean with running water after every section) or use the hard bristled brush to clean the midsole.
Once you are happy with the way your shoe is looking, use the microfiber cloth to remove all the foam created by the sneaker cleaning serum from the shoe. If you are not happy with the results, repeat the steps above again and you should be good to go. Let your shoes air dry for the best results and make sure to lace them up before you set out to use them again.